Some tips on using that product after using it multiple times.
Filter it after use. It cuts down on the smell that develops after using a few times and helps with the tendency for it to blacken the item. I bought a $5 submersible pump that I use to push the product through an automotive fuel filter.
Don't leave the product submerged too long. That also will lead to the dark coating being left on the item. I check and wipe down periodically.
You can easily de rust that tank in in one bath. Get a Styrofoam cooler that the tank would fit in and not leave much room for anything else. Then put the tank in a heavy duty garbage bag. Then place the bag/tank in the cooler and then fill the bag with the solution. Just make sure that that the bag isn't flat against the metal and to use ballast to take up space inside the cooler. The bag technique is useful for many odd shaped parts.
New 250 Project Adventure
Moderator: ajleone
-
Snakeoil
- Posts: 109
- Joined: Fri Jun 17, 2016 12:10 pm
- Location: Upstate NY
Re: New 250 Project Adventure
Thanks for the tips guys.
Filtering the Evaporust is not something I'd considered. I will do that in the future.
I'm familiar with copper plate being used to fill imperfections. Brown's was famous for what they could do with iffy looking parts. But you paid for that service, too.
I'll call my plater and talk to him. I have a couple of dents in this tank. One is very shallow near the top. Should pull out nicely. I popped one out that was much deeper on a CL160 tank and you could not tell it was ever dented. There is also a dent in the lower corner. That one may be tough to pull, even with studs. But that corner would get painted anyway so not necessarily an issue.
But, the bike is not going to be a 100 point bike. So if I end up painting scallops, if I go with the original paint scheme, that will probably be fine.
I looked at the tank again today. It seems that the chrome pattern is just that, a pattern and the entire tank is not plated. I did not expect that.
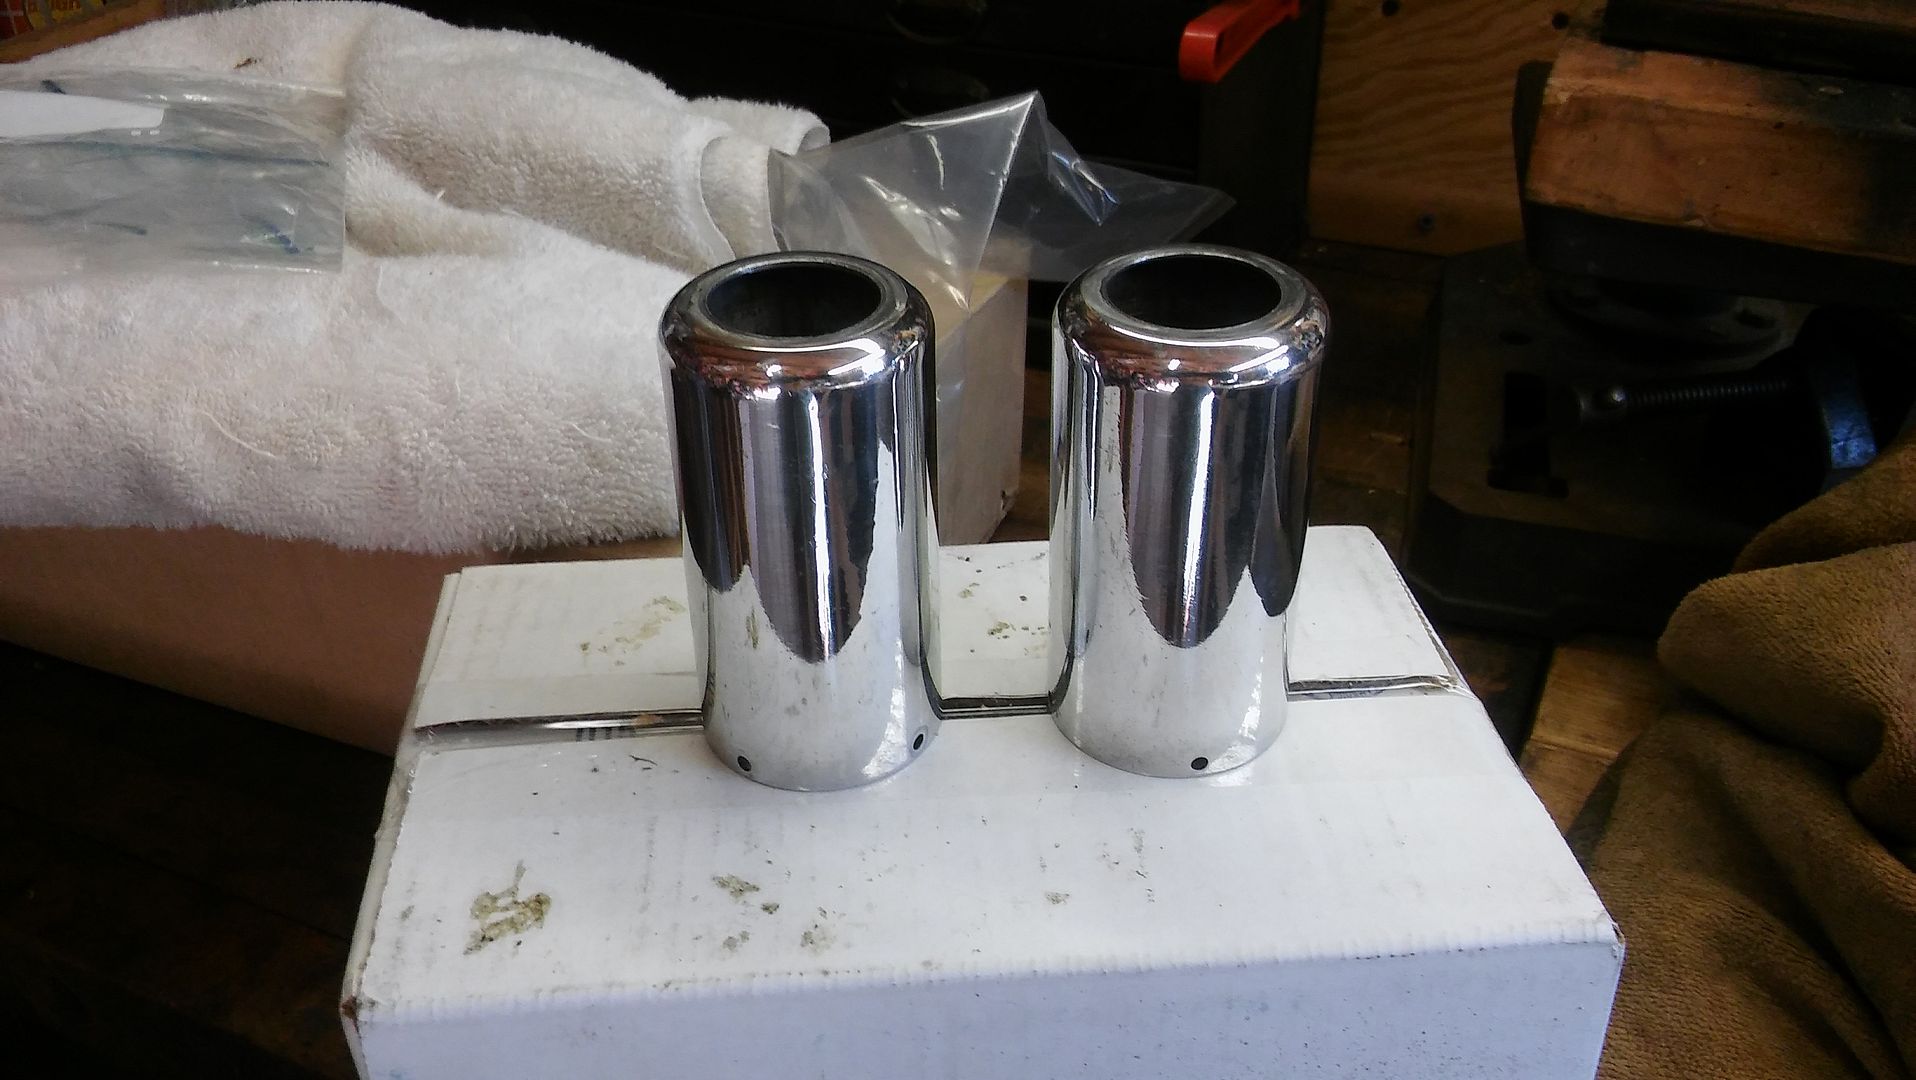
Did a little polishing today. Bottom shrouds for the shocks and the seal/dust covers for the fork sliders. Here are the shock shrouds.
Rob
Filtering the Evaporust is not something I'd considered. I will do that in the future.
I'm familiar with copper plate being used to fill imperfections. Brown's was famous for what they could do with iffy looking parts. But you paid for that service, too.
I'll call my plater and talk to him. I have a couple of dents in this tank. One is very shallow near the top. Should pull out nicely. I popped one out that was much deeper on a CL160 tank and you could not tell it was ever dented. There is also a dent in the lower corner. That one may be tough to pull, even with studs. But that corner would get painted anyway so not necessarily an issue.
But, the bike is not going to be a 100 point bike. So if I end up painting scallops, if I go with the original paint scheme, that will probably be fine.
I looked at the tank again today. It seems that the chrome pattern is just that, a pattern and the entire tank is not plated. I did not expect that.
Did a little polishing today. Bottom shrouds for the shocks and the seal/dust covers for the fork sliders. Here are the shock shrouds.

Rob
-
CaptonZap
- Posts: 27
- Joined: Sun Jan 17, 2016 3:04 pm
Re: New 250 Project Adventure
There are those that will say that 95/5 solder is not suitable for filling dings that are to be plated, but that is what I used on my tank. Just be sure that the metal is tinned well before applying the solder.
And be sure that the plater uses the cyanide copper first, to seal the tin. Then acid CU to fill with.
CZ
And be sure that the plater uses the cyanide copper first, to seal the tin. Then acid CU to fill with.
CZ
-
graeme
- Posts: 942
- Joined: Sun Mar 25, 2012 12:00 am
- Location: Tasmania Australia
Re: New 250 Project Adventure
Has anyone used that chrome "paint" process on tanks?
I saw it on YouTube on a Jay Leno video where he had forgotten to get some parts chromed and used this process.
Not sure what it's called or if it's any good.???
They did say it needed a clear over it to protect it.
Might be ok for pitted metal once the pits were filled with filler?
Graeme
I saw it on YouTube on a Jay Leno video where he had forgotten to get some parts chromed and used this process.
Not sure what it's called or if it's any good.???
They did say it needed a clear over it to protect it.
Might be ok for pitted metal once the pits were filled with filler?
Graeme
-
Snakeoil
- Posts: 109
- Joined: Fri Jun 17, 2016 12:10 pm
- Location: Upstate NY
Re: New 250 Project Adventure
I have a friend with a '65 BSA A65C that had it done. I have to say that I defy anyone from not believing it is true chrome plate. It looks perfect. It was not cheap. I think it cost him $800 and that does not include the color coat, which another painter applied over it. But his tank was not perfect and was not a candidate for a replate.
I should take pics of his bike. This topic has come up on other forums as well.
regards,
Rob
I should take pics of his bike. This topic has come up on other forums as well.
regards,
Rob
-
Snakeoil
- Posts: 109
- Joined: Fri Jun 17, 2016 12:10 pm
- Location: Upstate NY
Re: New 250 Project Adventure
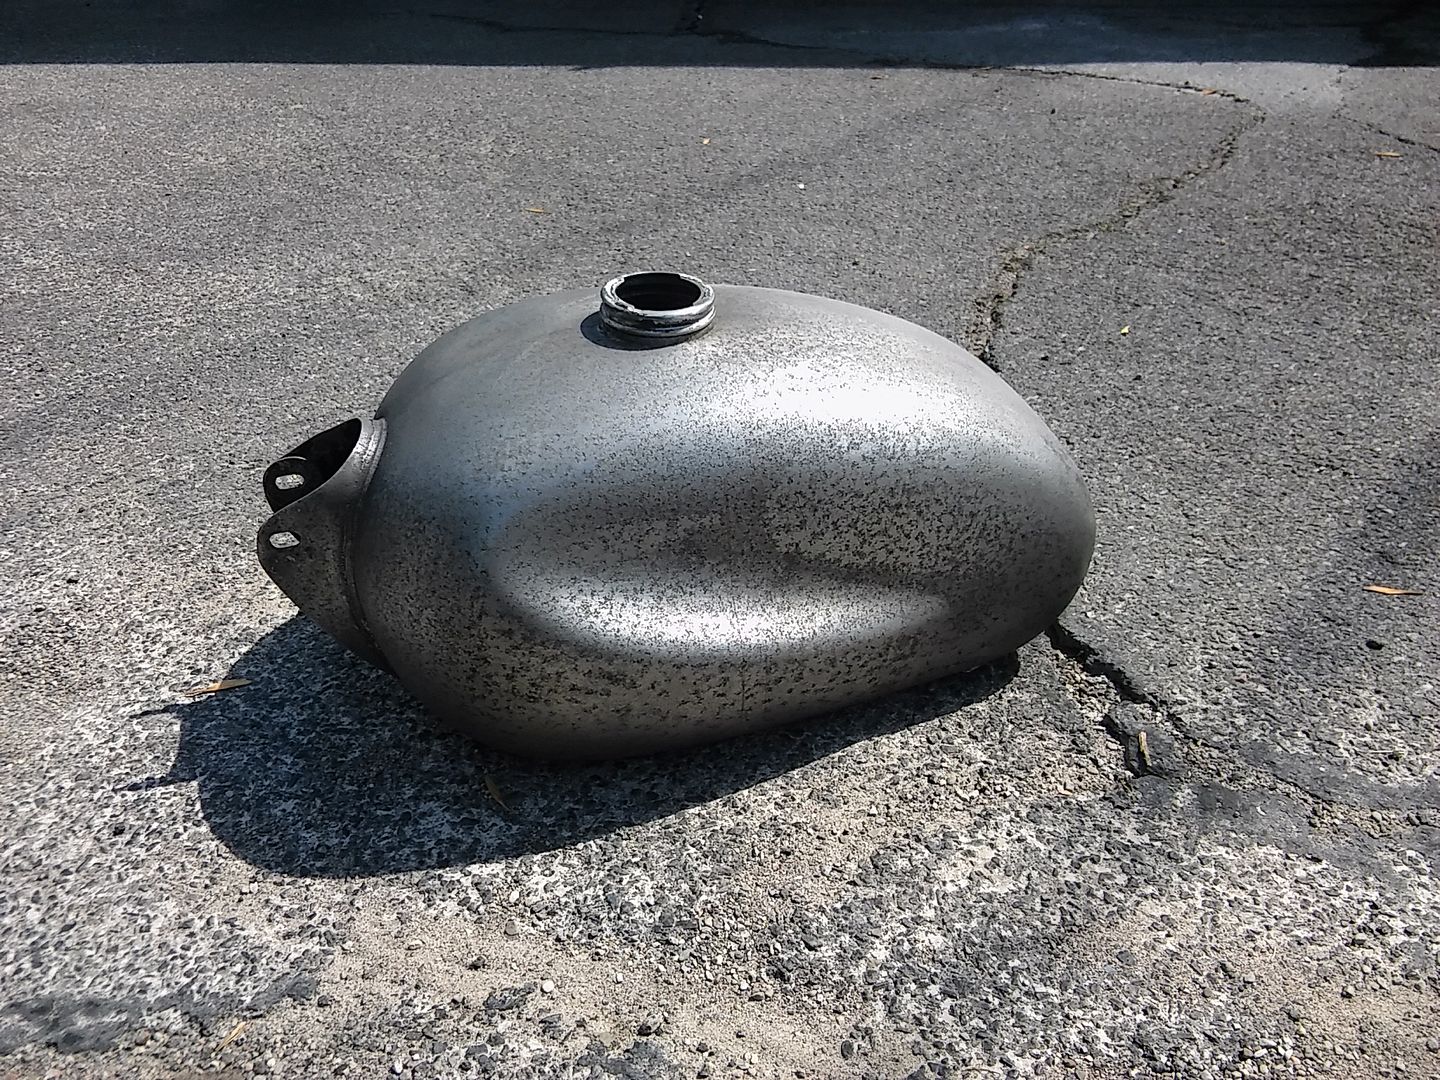
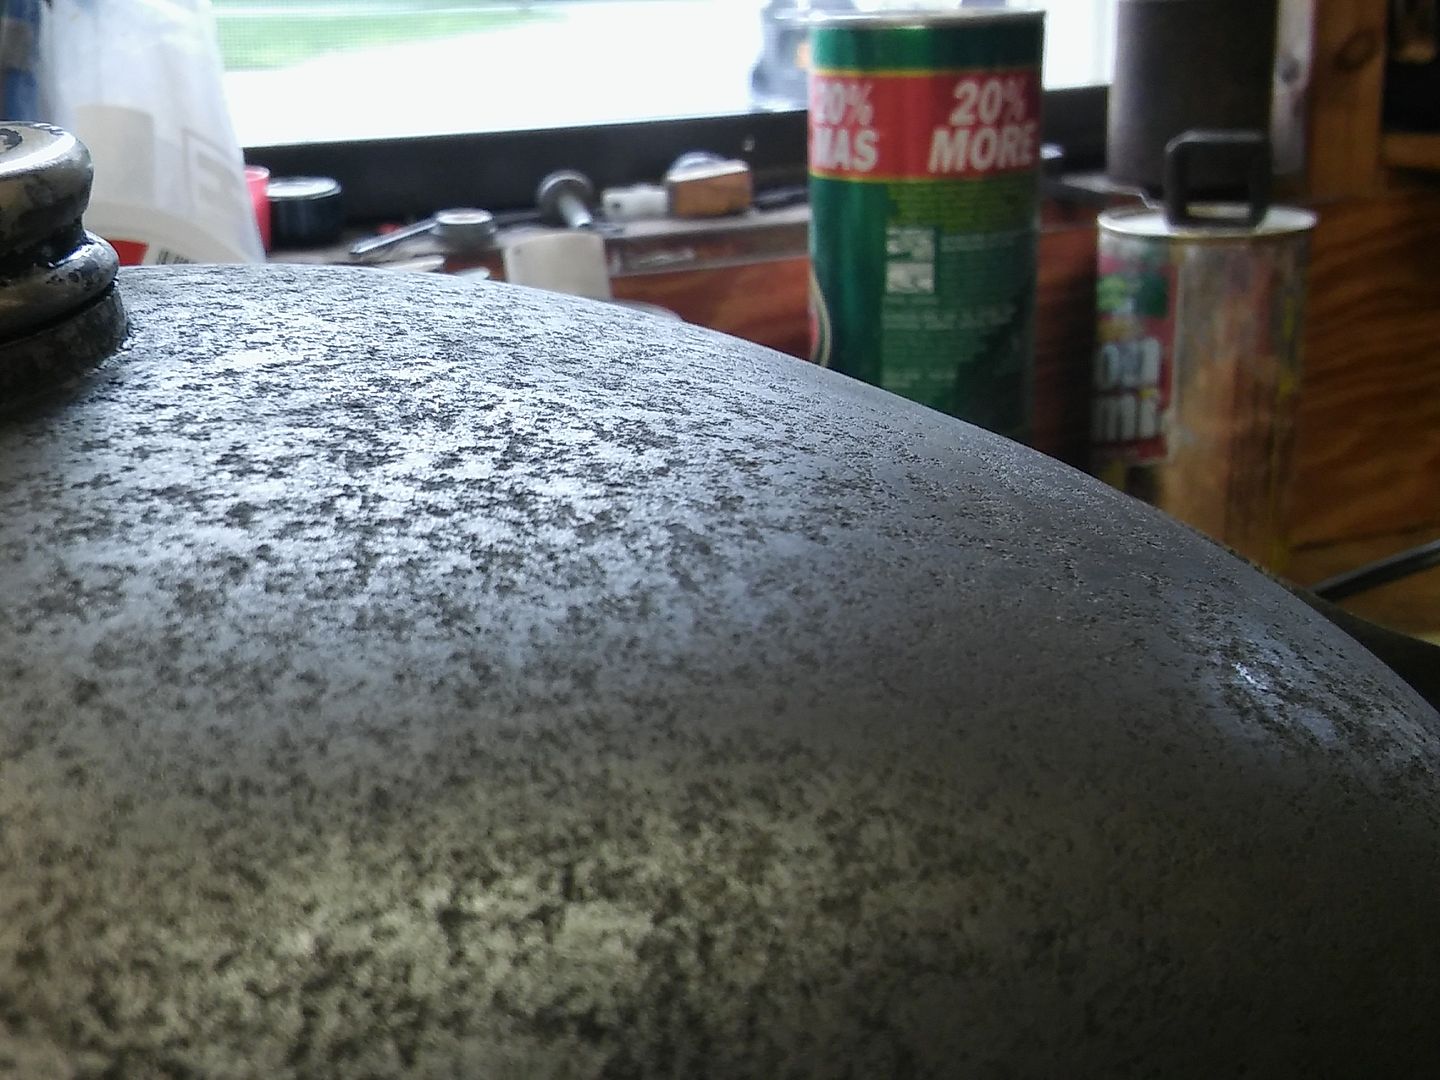
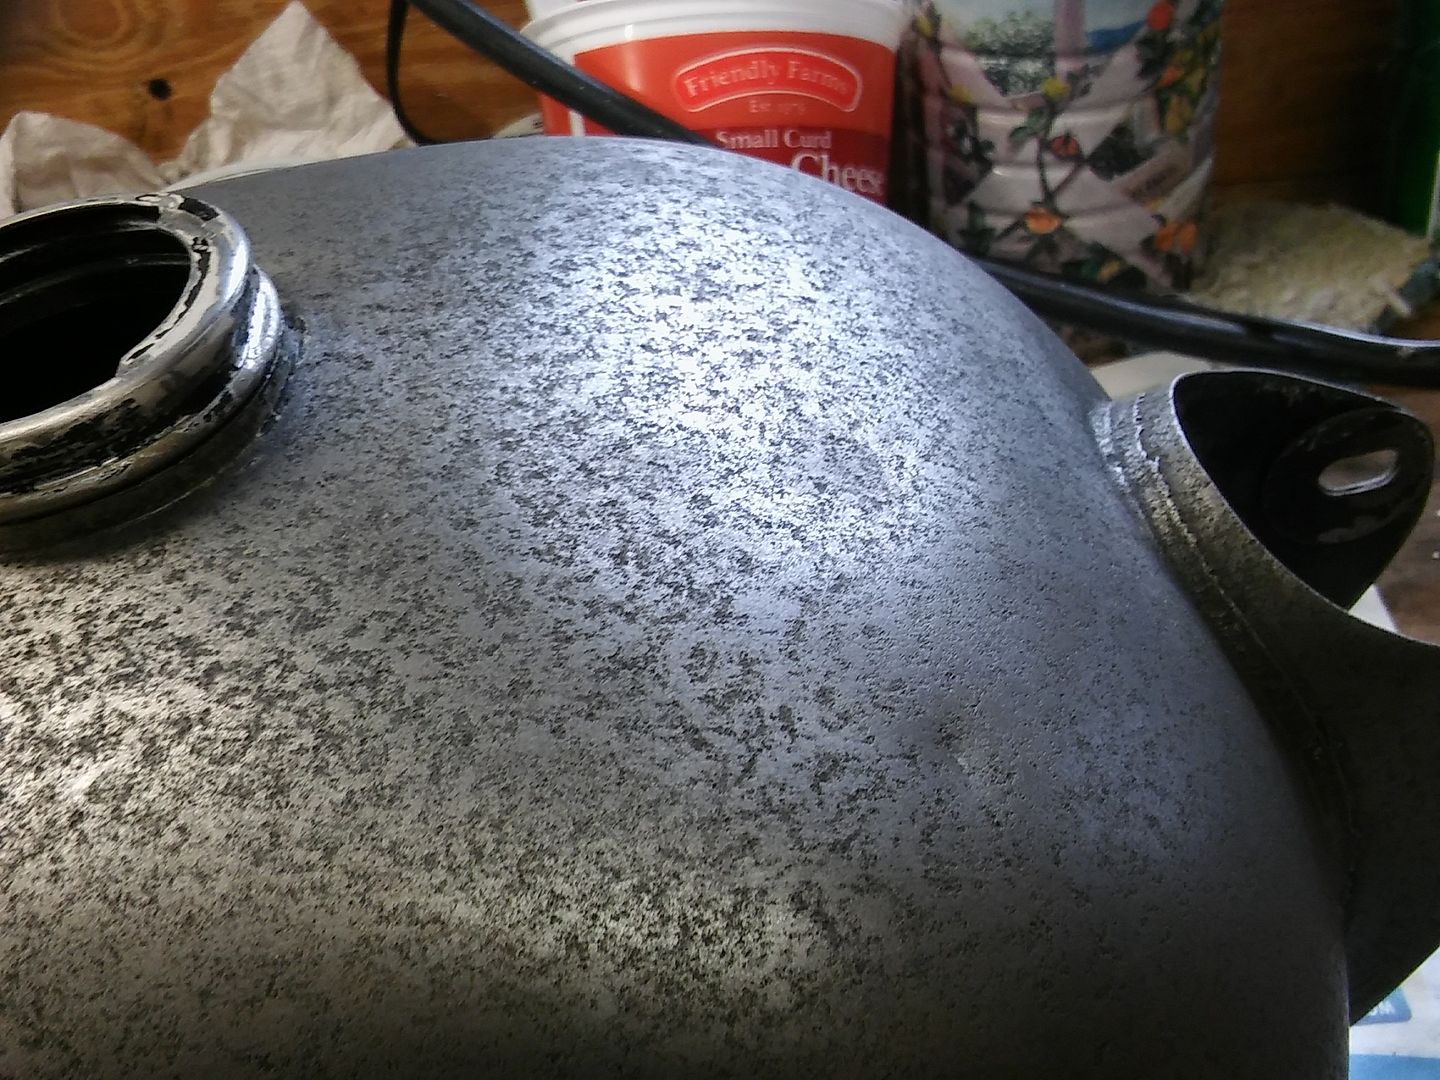
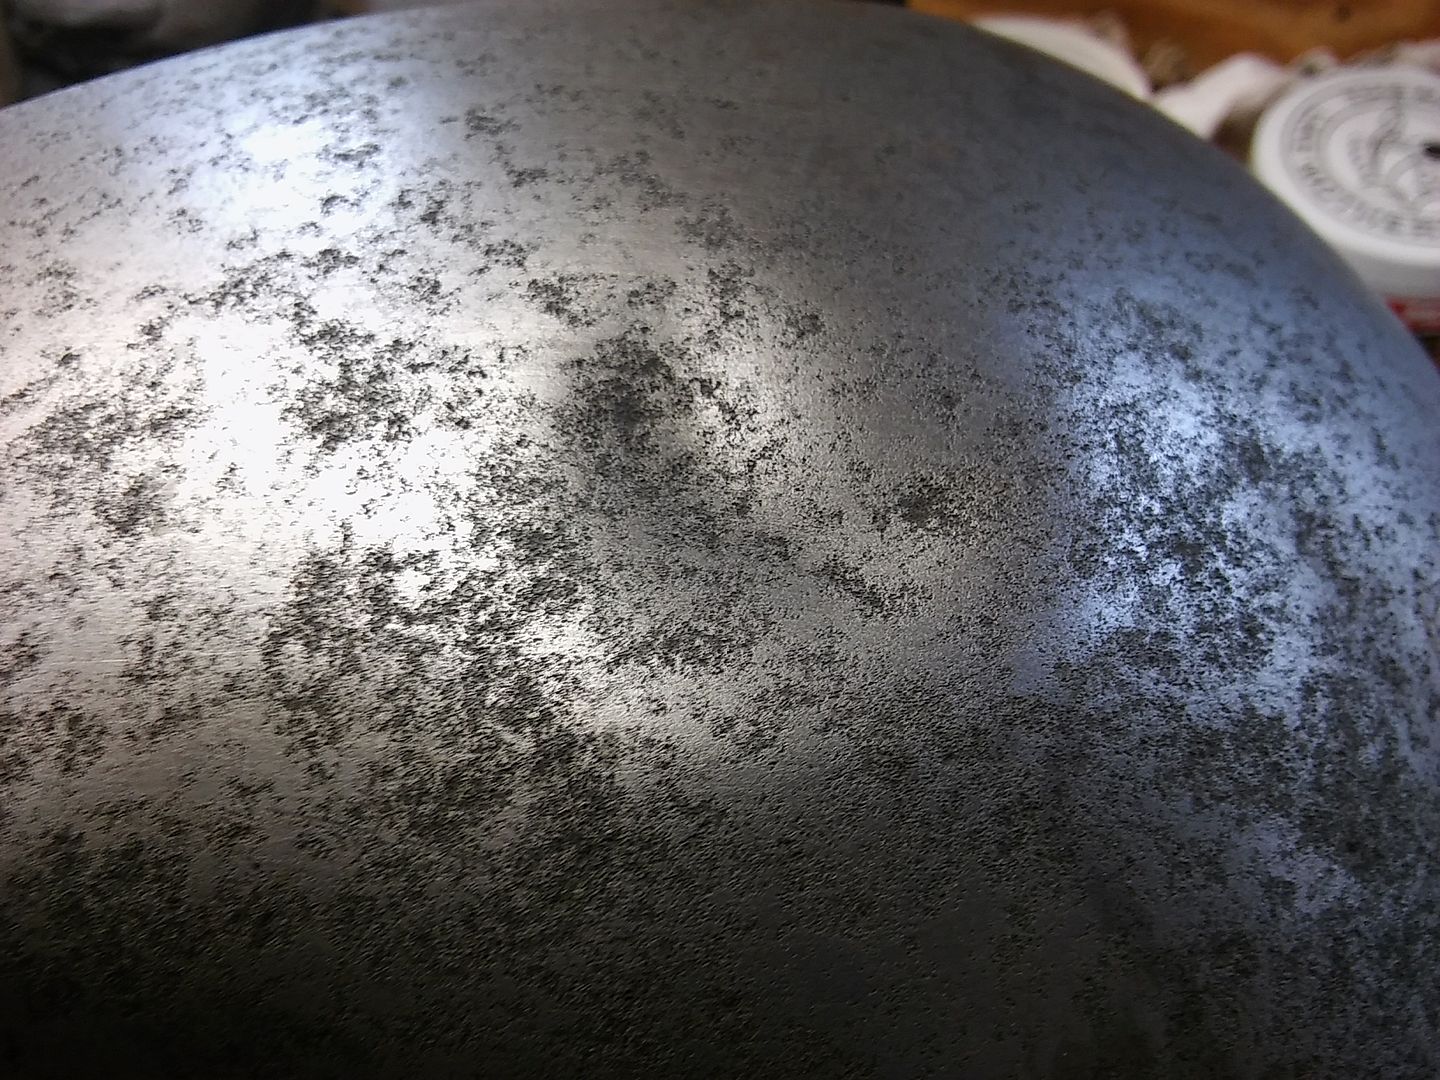
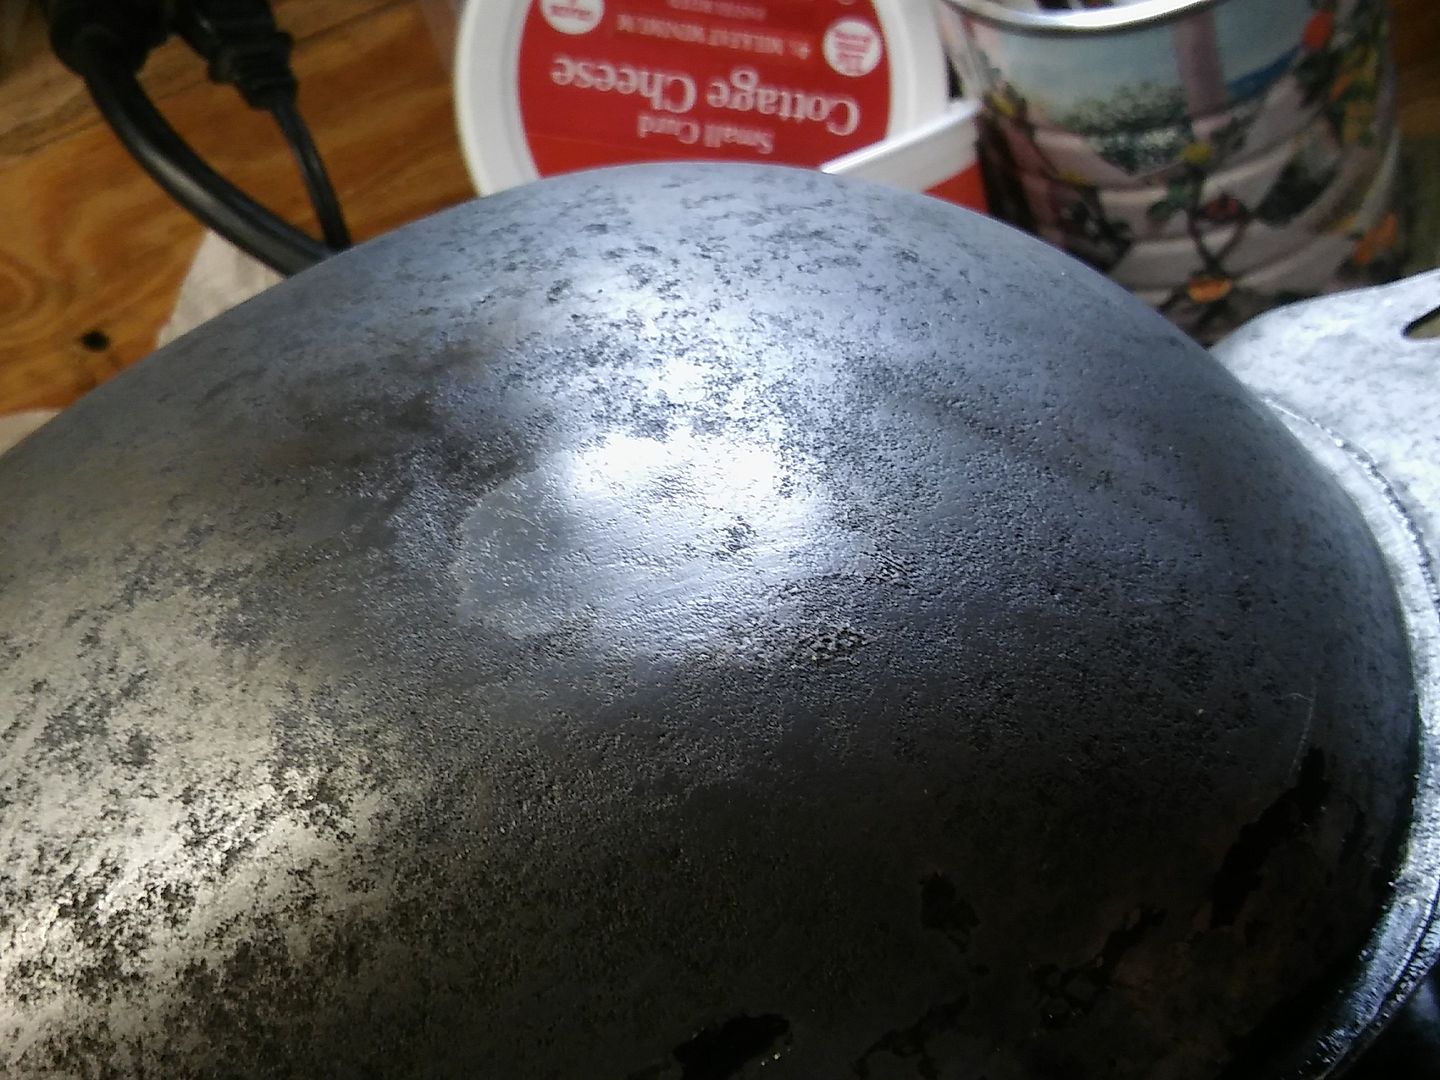
Tank is now rust free. With the rust gone, I found a few more dents that need to be addressed. I can also now see that what I thought was a unique scallop pattern is actually the standard pattern. My guess is that the paint over the chrome helped protect that part of the tank longer than the exposed chrome scallops. So this is why the chrome appeared to be in a pattern on the tank, rather than the entire tank being chromed. I suspect that the scallop chrome peeled off first, then the paint and what chrome is left was under the paint.
You can faintly see the original scallop pattern in the tank now that the rust is gone.
regards,
Rob
You can faintly see the original scallop pattern in the tank now that the rust is gone.

regards,
Rob
-
Snakeoil
- Posts: 109
- Joined: Fri Jun 17, 2016 12:10 pm
- Location: Upstate NY
Re: New 250 Project Adventure
Thought I'd try to pull the dents in the tank. Started with the smooth shallow dent in the top just in front of the filler neck. Here is the dent before I pulled it. That snot in then middle is hot glue. I had already started the process when I realized I had not taken a before pic.
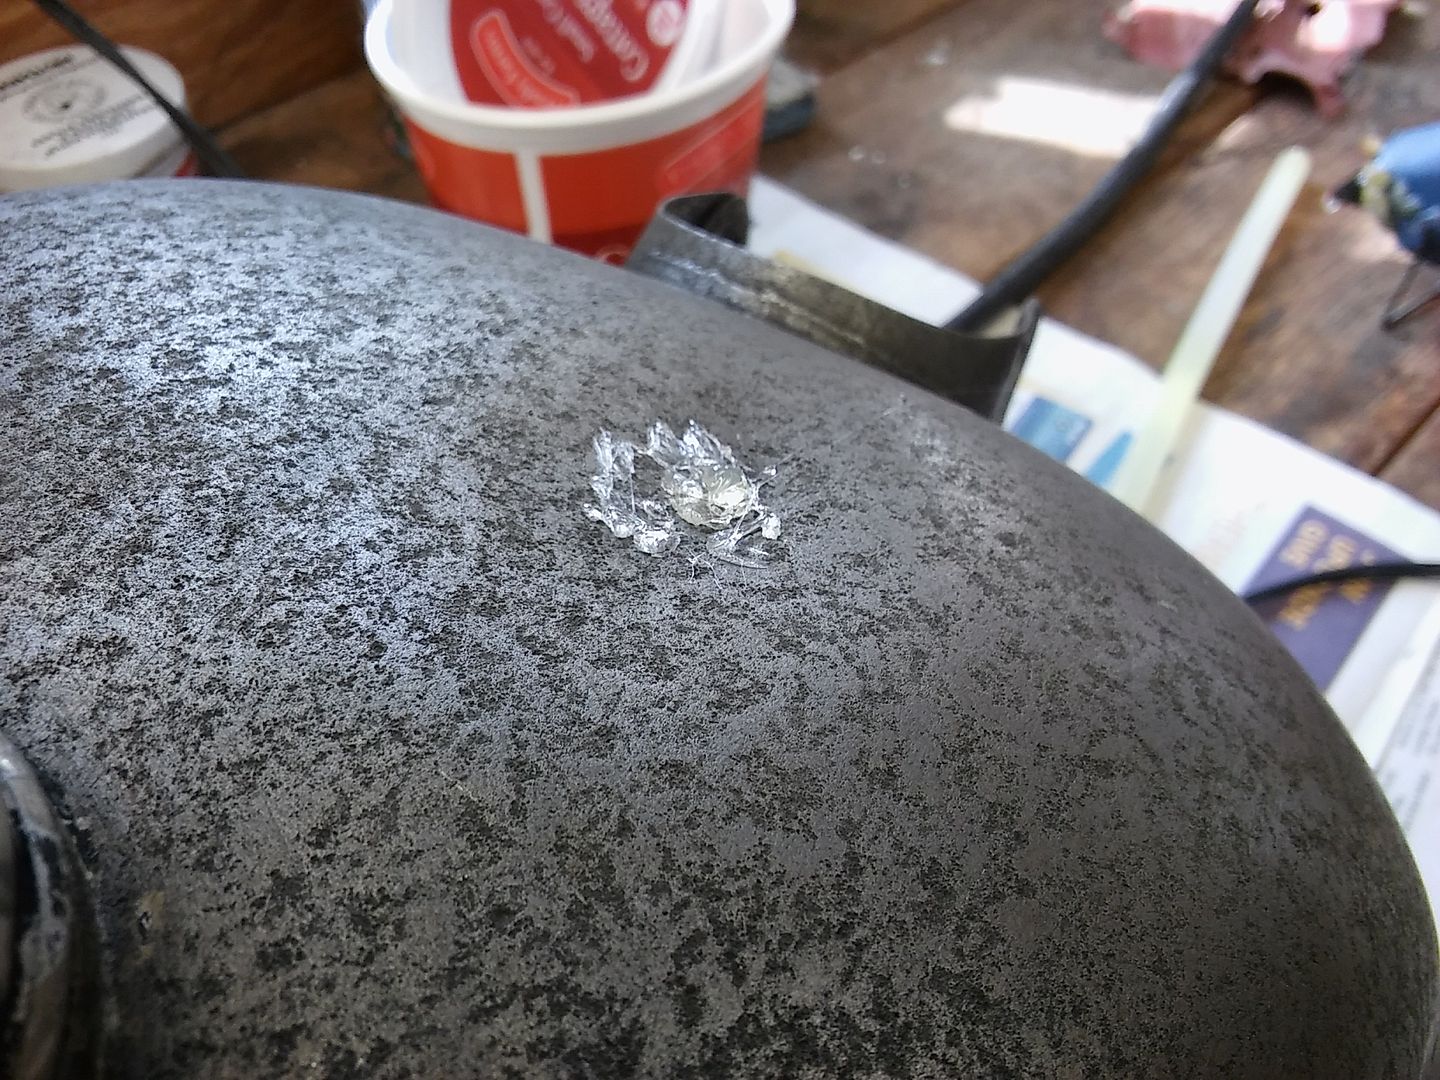
First pull removed 95% of the dent. I gave it a few more tries, but it really did not improve. Here is the same area with the glue cleaned off.
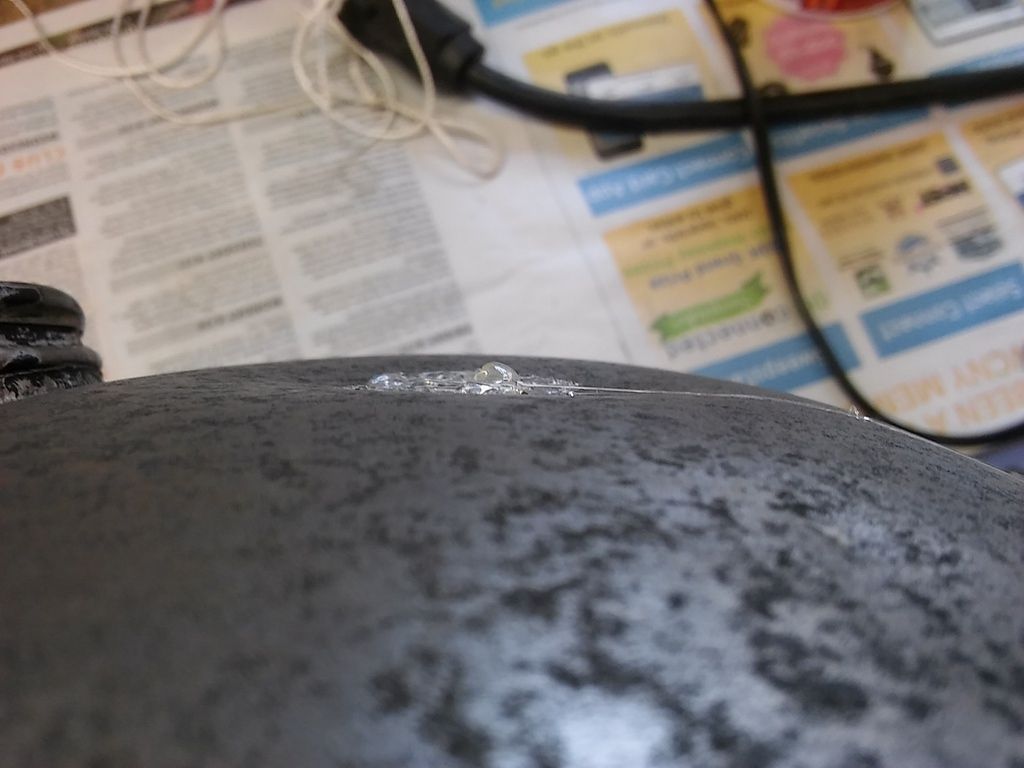
Then on to the deeper dent in the side. Here are the before pics.

I started with hot glue. It only worked so well since there were creases in the dent. I moved to soldering on a stud and that pulled more of it out.
Here are the after shots. The solder is not filling anything in. I wiped it off while hot and this is what remained behind.
I pulled the one on the back corner, but never took any pics. It's not perfect, but better than it was.
Not even sure I'm going to use this tank. But it is nice to see it with less obvious dents.
regards,
Rob


First pull removed 95% of the dent. I gave it a few more tries, but it really did not improve. Here is the same area with the glue cleaned off.


Then on to the deeper dent in the side. Here are the before pics.


I started with hot glue. It only worked so well since there were creases in the dent. I moved to soldering on a stud and that pulled more of it out.
Here are the after shots. The solder is not filling anything in. I wiped it off while hot and this is what remained behind.

I pulled the one on the back corner, but never took any pics. It's not perfect, but better than it was.
Not even sure I'm going to use this tank. But it is nice to see it with less obvious dents.
regards,
Rob
-
BDang
- Posts: 57
- Joined: Thu Sep 01, 2016 12:35 am
Re: New 250 Project Adventure
I have a great time reading Rob’s posts and pic. Many thanks to Rob.
For the post, the 2nd pic on page 4 shows the case with a hole for the alternator cable and nearby a brass fitting for venting bypass gas I think. I looked at my 125 Sport and it doesn’t have that brass bypass hole, and so how the 125 do it? As for the wear on the drive gear of oil pump, it seems the drive gear bushing on the cover has too much shaft clearance, allowing the gear too much radial movement and hitting the cover’s sidewall. As for the gear face wear, I think the drive shaft was pushing on the gear too much. Should it have more axial clearance?
Regards,
Brian
-
Snakeoil
- Posts: 109
- Joined: Fri Jun 17, 2016 12:10 pm
- Location: Upstate NY
Re: New 250 Project Adventure
Brian, I think you posted your question in the wrong thread.
Meanwhile, back at the ranch...
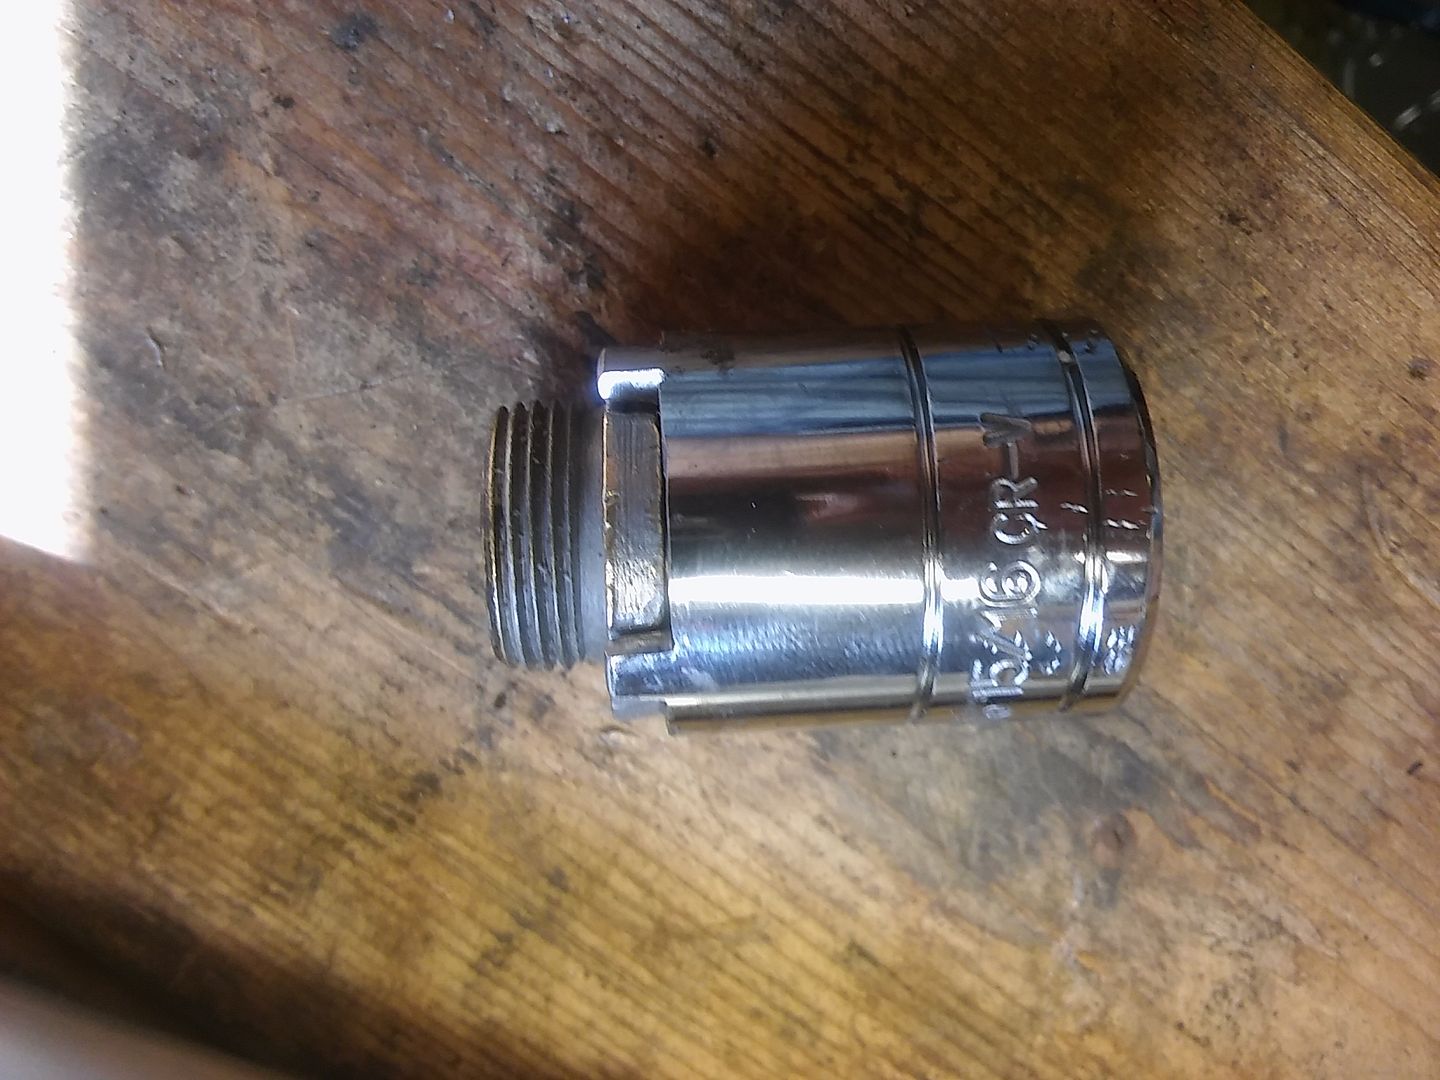
I had a minor challenge with the engine case that I had not addressed. That was removal of the breather fitting. It uses a castle nut wrench (4 pin spanner in UK jargon) and I did not have one. But I've made these before as vintage Hondas love to use them.
Here's the fitting.
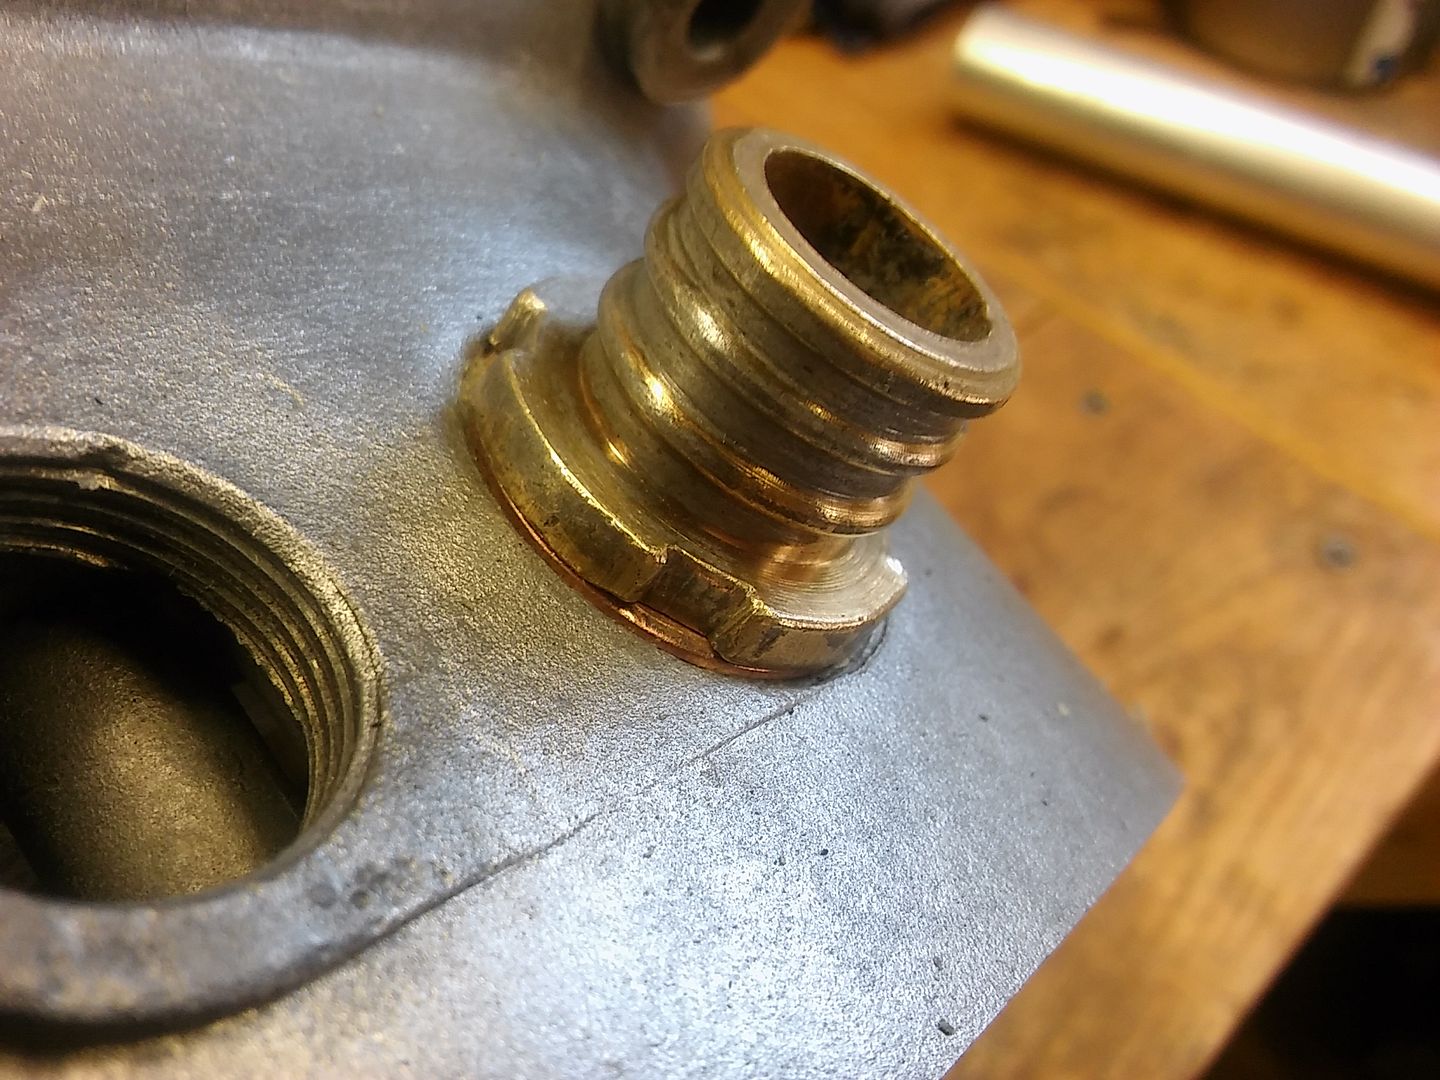
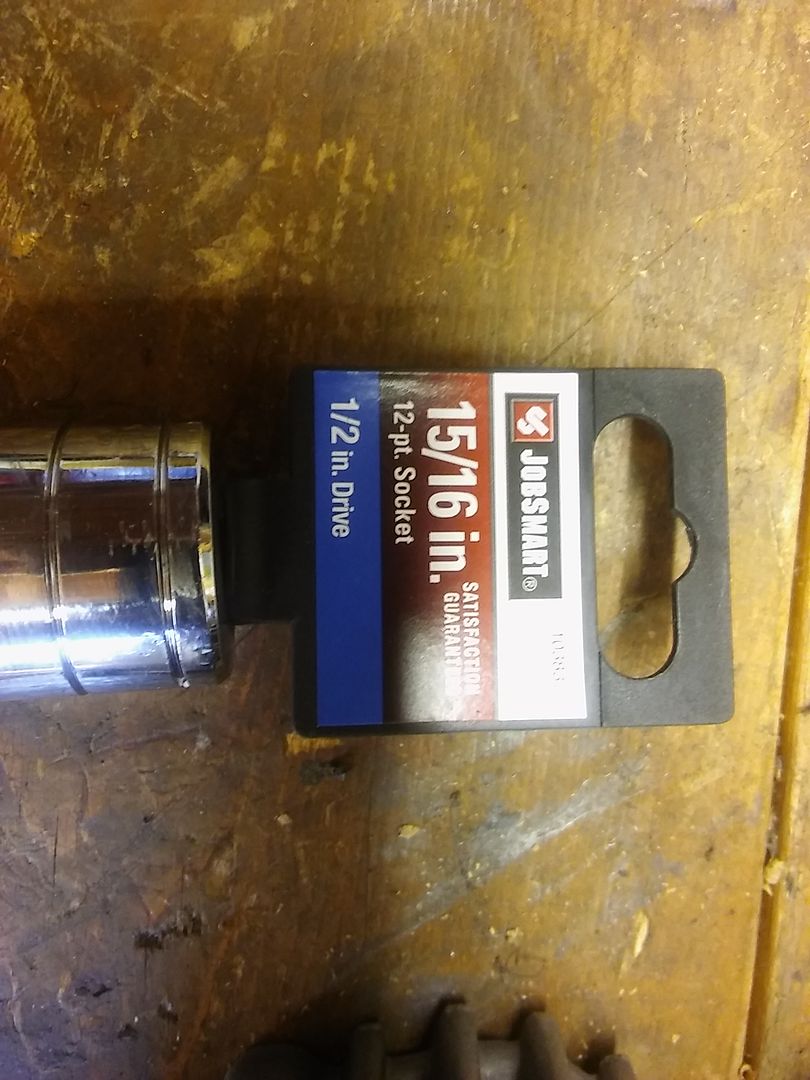
Off to TSC for a 15/16" socket to serve as the basis for the correct socket. $2.99 plus tax out the door.
Using my precision metal removal tool...
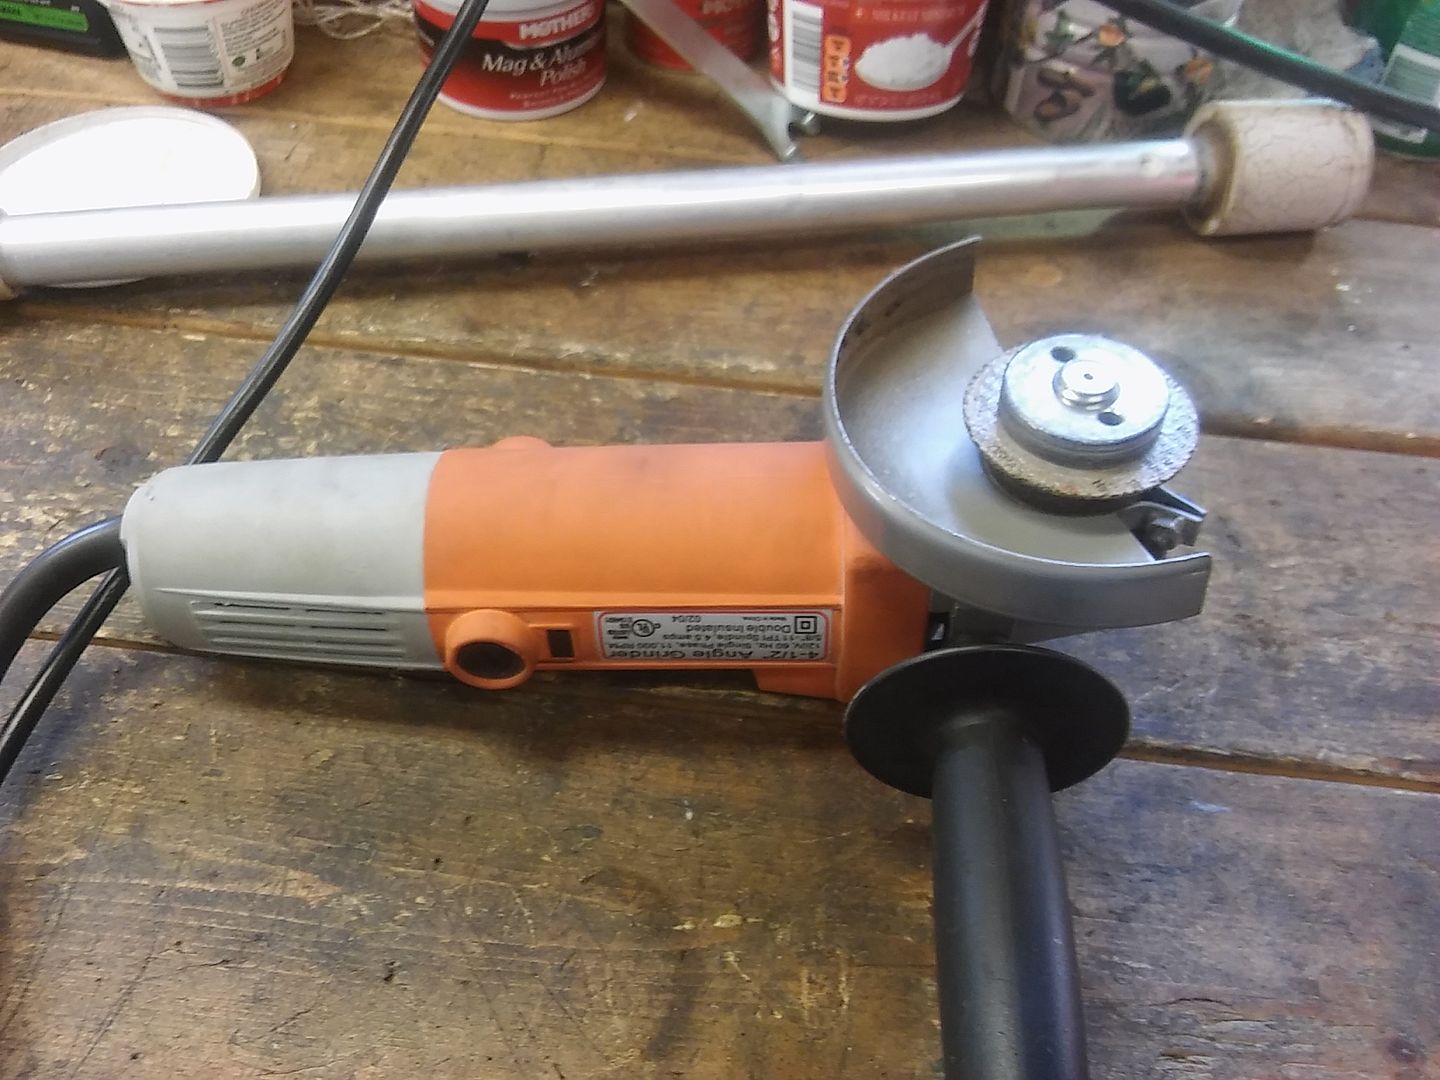
aka, a Horror Fright side grinder and what was left of a small cut-off disc, I cut out the 4 pegs and cut away the unwanted material around them. A little dressing with a flat file and presto, instant castle nut wrench.
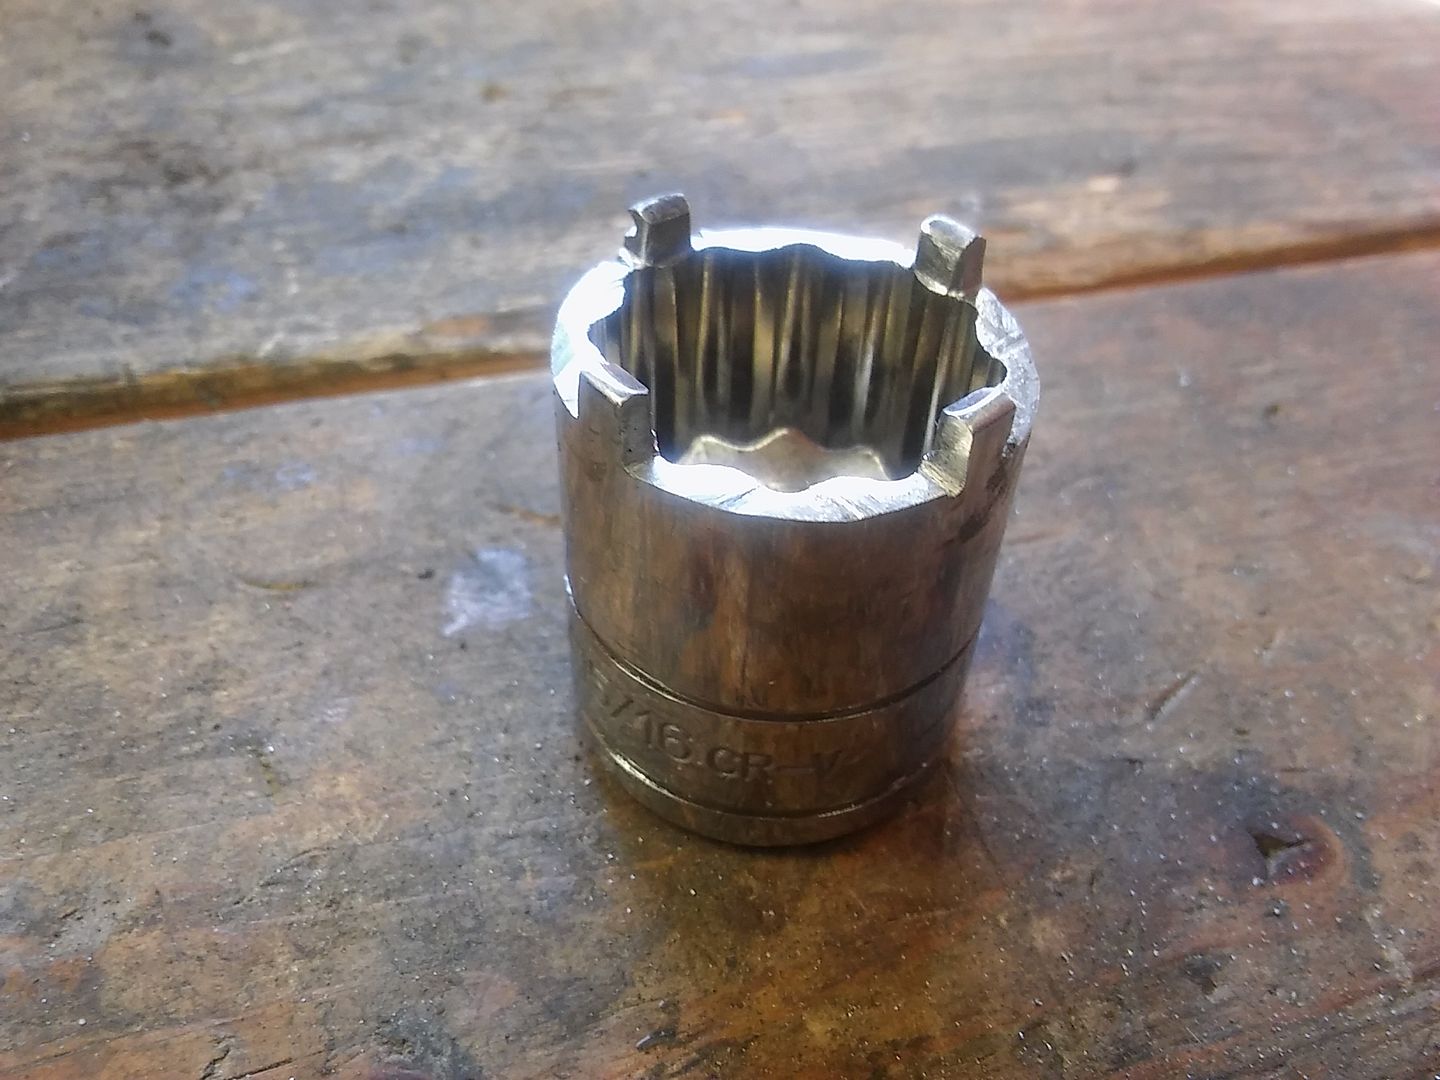
I prefer standard sockets for this over impact sockets. The impact sockets made in China by prisoners are glass hard and shatter easily. They are also impossible to trim with a file. The standard sockets are tougher IMHO. A file will just cut into them, but not go thru them like cold rolled steel.
Here's the wrench on the fitting with it removed from the case.
Of course, I found more silicone sealant with the fitting removed. There was a brand new copper sealing washer under the fitting and it was like new. I guess if you use silicone, the copper washer can be used over and over and over and... unbelievabale.
regards,
Rob
Meanwhile, back at the ranch...
I had a minor challenge with the engine case that I had not addressed. That was removal of the breather fitting. It uses a castle nut wrench (4 pin spanner in UK jargon) and I did not have one. But I've made these before as vintage Hondas love to use them.
Here's the fitting.

Off to TSC for a 15/16" socket to serve as the basis for the correct socket. $2.99 plus tax out the door.

Using my precision metal removal tool...

aka, a Horror Fright side grinder and what was left of a small cut-off disc, I cut out the 4 pegs and cut away the unwanted material around them. A little dressing with a flat file and presto, instant castle nut wrench.

I prefer standard sockets for this over impact sockets. The impact sockets made in China by prisoners are glass hard and shatter easily. They are also impossible to trim with a file. The standard sockets are tougher IMHO. A file will just cut into them, but not go thru them like cold rolled steel.
Here's the wrench on the fitting with it removed from the case.

Of course, I found more silicone sealant with the fitting removed. There was a brand new copper sealing washer under the fitting and it was like new. I guess if you use silicone, the copper washer can be used over and over and over and... unbelievabale.
regards,
Rob
-
BDang
- Posts: 57
- Joined: Thu Sep 01, 2016 12:35 am
Re: New 250 Project Adventure
Hi Rob,
Sorry about asking the vent hole for my 125 on this thread.
But here is the question for your oil pump.
As for the wear on the drive gear of oil pump, it seems the drive gear brass bushing on the cover has too much shaft clearance, allowing the gear too much radial movement and hitting the cover’s sidewall. As for the gear face wear, I think the drive shaft was pushing on the gear too much. Should it have more axial clearance at the shaft coupling?
Regards,
Brian
Return to “Ducati Singles Main Discussions (& How to Join)”
Who is online
Users browsing this forum: No registered users and 165 guests